Tree planting
When I mention that this blog involves bangers, steaks and whips then you could be expecting another wonderful culinary creation - in the vein of other blogs on our website, about cooking on a fire within a woodland. However, in reality, it is stakes and it is some of the tools and materials used to create or add to another wonderful creation – your woodland!
Tree planting is an intensely wonderful experience – the thought of nurturing you own trees into future giants is nearly akin to bringing up a family, full of delights, fun and hard work at times (especially in the planting, perhaps in both situations). You may be looking to expand your woodland or plant up clearings to give increased biodiversity. Your woodland may be a maturing conifer crop that you wish to thin or clear in order to replant a native broadleaved woodland, or a mix of tree types. It could even be planting up a hedgerow to give some privacy or a wildlife corridor along the edges of your woodland. In all of these situations knowing how to plant a tree properly will save you time and give the trees their best start in their journey to 'gianthood'.
This article suggests how to plant trees to give them this good start. Prior to any planting you will need to select suitable trees for your needs, the woodland environment and soil; advice can be found on the Web and by speaking to your local Forestry Commission officer or a local woodland Manager.
Once suitable tree species have been selected and a plan of numbers of tree needed is made you can order materials from a local tree nursery. Some of these nurseries can be found on the suppliers page on our website.
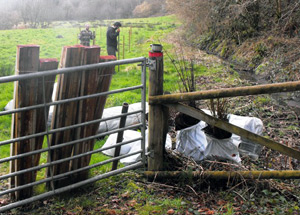
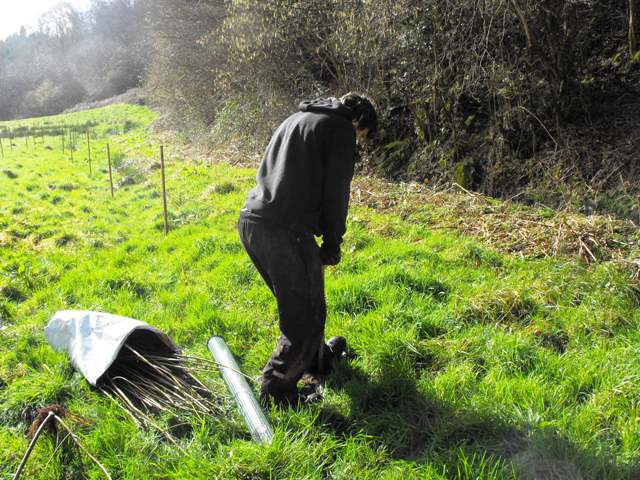
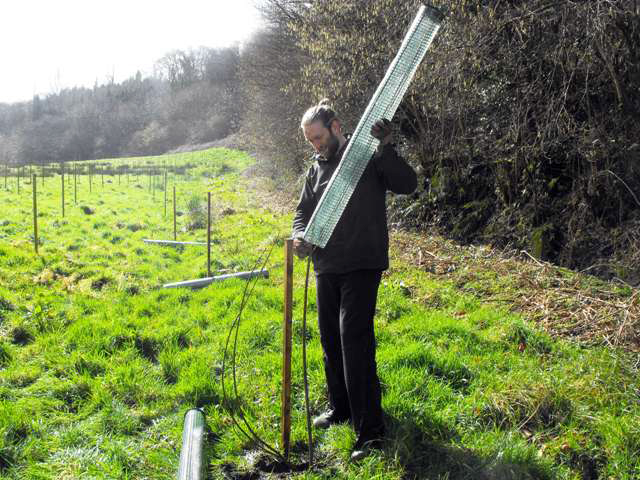
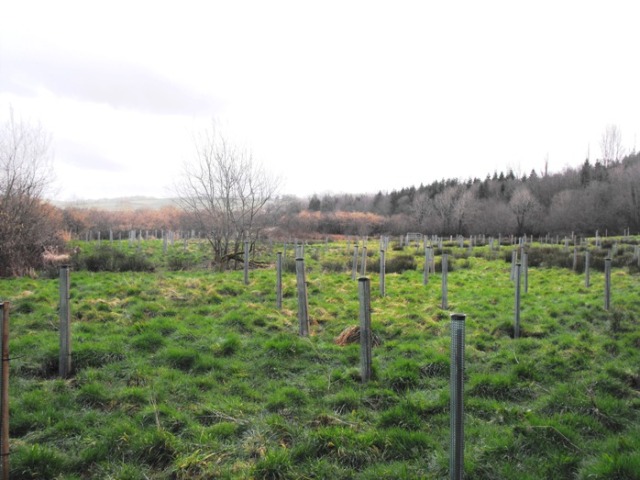
As seen in the picture (featured above) materials will include the trees, wooden stakes and tree guards. The age of trees and the height of guards and stakes can be selected with the help of the nursery. This article is written with a mixed broadleaved planting in mind, with staking and guarding using deer guards. Some locations and tree species can be planted using ‘spiral’ guards. These are cheaper but less effective where there are large deer populations. Again, a nursery should be able to help with advice.
 Tools that will be useful are a tree planting spade (a small garden spade can be used on smaller sites with loose soil), a post banger, penknife and a lump hammer.
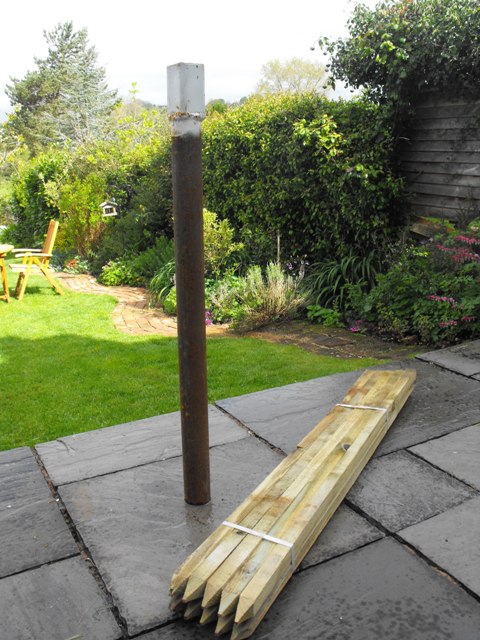
You can use a standard small post banger as found in farming supply stores or if you have a large number of trees to plant you may wish to get your own one welded as I did (see adjacent image). These fit perfectly over the stakes and are easy to carry around. You will need a piece of round steel about 2.5 inches diameter and then weld a section of box steel to the top, with a cap on it. Put a hole in the top to allow water to drain.
The first job is to lay out the stakes. This is your chance to design your woodland. There are many different ways of doing this depending on what your aims and objectives are. For example you may want to have a number of different ‘stands’ of tree species for easy management and thinning. A stand of hazel planted at a 2 metre spacing will mean they all grow up together and are nice and straight to produce hazel poles for pea sticks and for hurdle making.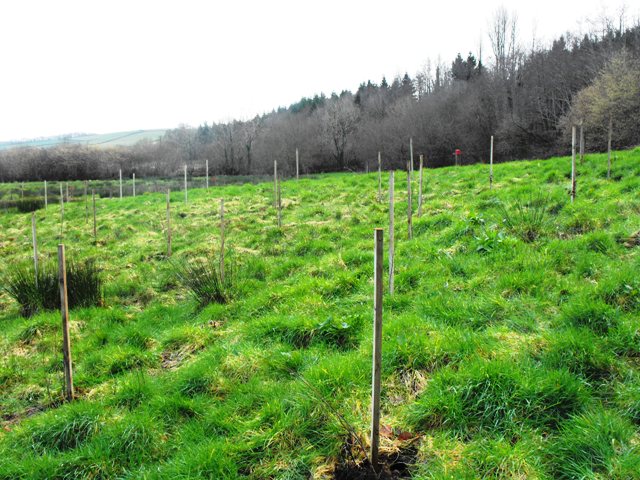
Another design if you are planting an area of native broadleaves is to start by planting groups of oaks in circles. This will mimic how oak trees grow in the wild with a central tree, or the ‘Mother oak’. A group of around 25 trees can be planted at a 2 metre spacing. The idea is that the oak trees will grow up nice and straight together and then will gradually be thinned out over decades, eventually leaving the large ‘mother’ oaks. Around this you could then plant a similar number of other mixed broadleaved trees such as birch, sycamore, wild cherry and sweet chestnut for example. These are planted at a wider spacing of 3 metres. This should equate to the tree numbers per hectare advised by the Forestry Commission.
 These are a couple of design ideas but there are many ways of designing planting schemes which I won’t go into detail about here.
Presuming a rough planting schedule, tree spacing and species have been established, the stakes can be laid out accordingly. For spacing I find it easiest to measure my normal paces alongside a tape measure and then stick to this number of paces for the spacing. You could cut a stick to size and measure each tree space or use a tape measure on smaller areas if you like.
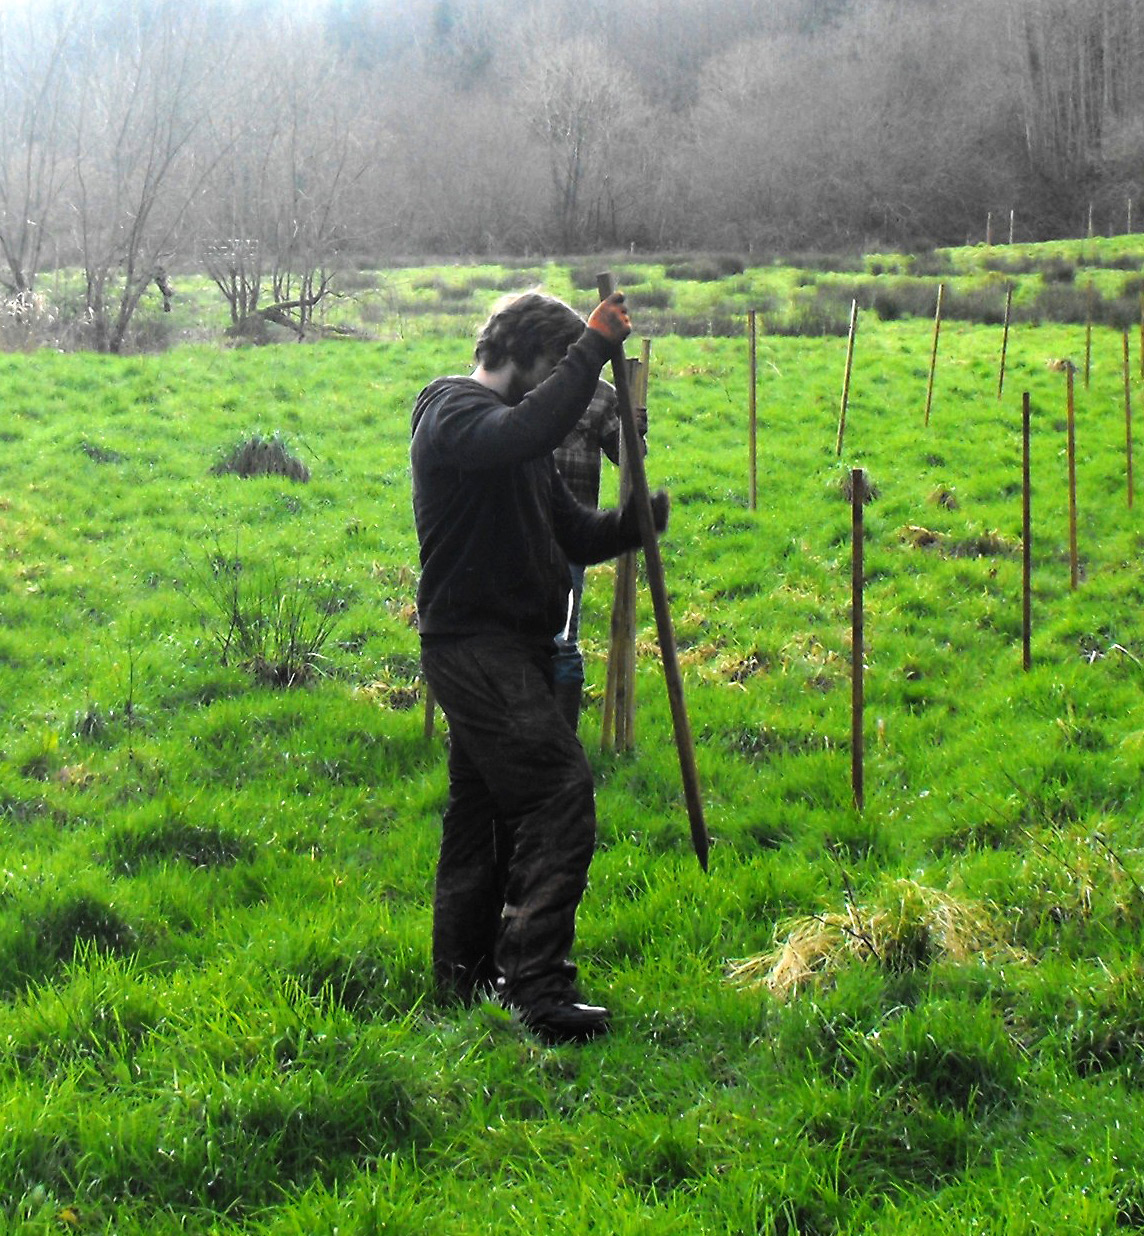
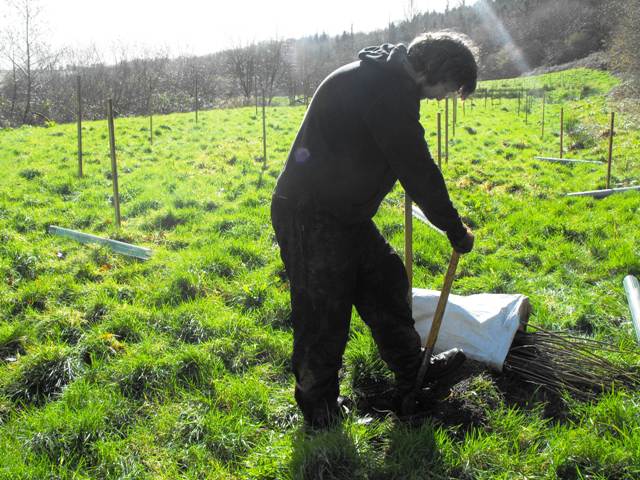
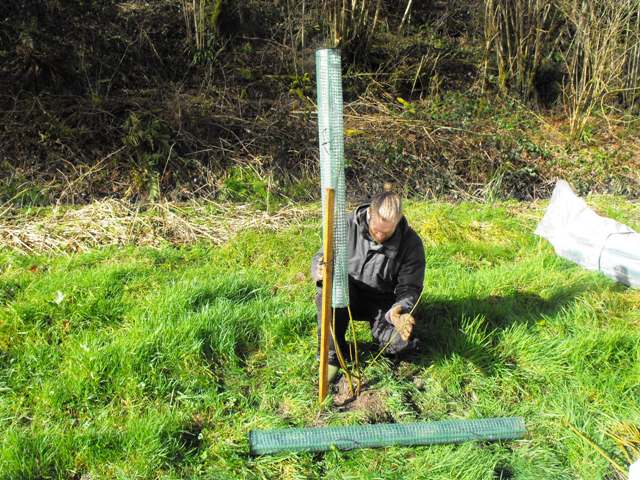
You can then bang in your stakes using your post banger. Make sure they are as straight as possible as this helps the trees grow straight and is visually better. If you are planting on stony ground you may find it easier to make a hole with a metal bar and tap the stake in with a lump hammer (see adjacent image).
If you are planting a number of trees, it becomes more efficient to lay out trees by the stakes ready to be planted. If you are mixing tree species you will need to mix up the trees prior to doing this. Usually they come in plastic bags and I use these as planting bags but if you want you can purchase specific bags for this. The trees come with soil around their roots and, if left in the bags, will last for a couple of weeks if watered.
When laying out trees, they need to be away from the side of the stake that you will be digging a hole to plant into. The tree is usually planted to the north/ north east of the stake and the wind predominantly comes from the south west and therefore the stake helps to protect the tree and guard from these prevailing winds. Consequently, lay out the tree away from the side to be planted so you don’t have to move it again. Finally for this stage don’t lay out too many trees, especially on a sunny day as their roots will start to dry. Thirty to forty at a time is plenty, less while you are beginning.
Now you need your spade. A tree planting spade is best but a small garden spade will be fine for smaller areas. Point your spade sideways to the north/ north east direction. Push the spade into the ground slightly .
Push or dig the hole
Now pull towards you and push away to loosen the soil.
Making the slot
Then push the spade into the ground again but deeper and do the same again to form a ‘slot’ or long narrow hole. These holes need to be slightly deeper than the tree root and may take a couple more shoves into the ground to achieve this.
Heeling in the tree
Now you have your slot you can pick up your tree and drop it into the slot. Pull the tree up until the top of the roots are just under the ground level. You plant the tree by pushing the loose soil back around the tree with the heel of your shoe. This is known as ‘heeling in’. Make sure that no roots of the tree are exposed as this could kill it.
Trees heeled in and roots well under ground
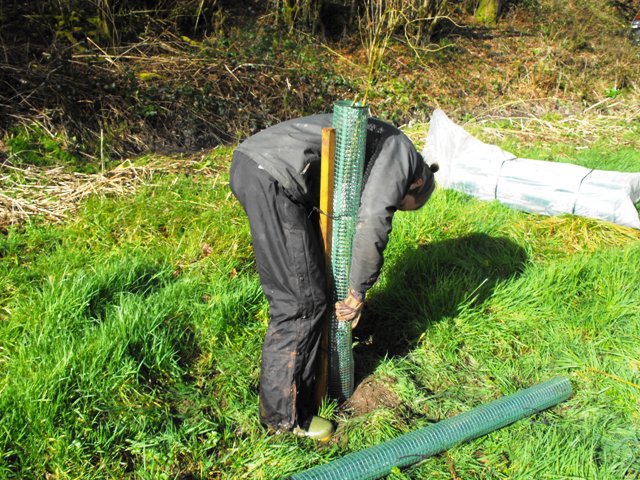
Providing that you are not fencing your woodland area with deer and rabbit fencing you will need to protect your precious trees from these naughty tree nibblers. In areas with minimal deer problems then spiral guards with bamboo canes can be used. These are cheap and easy to fit. In the area of planting I am writing about, I have often seen roe deer skipping through the long grass hence using the wooden stakes along with 1.2 metre deer guards. These guards allow sunlight to get to the tree to allow it to grow whilst protecting from ‘browsing’ (nibbling the tasty shoots on young trees). There are a number of different designs and types on the market. Most types are biodegradable and you can even purchase guards made of recycled cardboard!
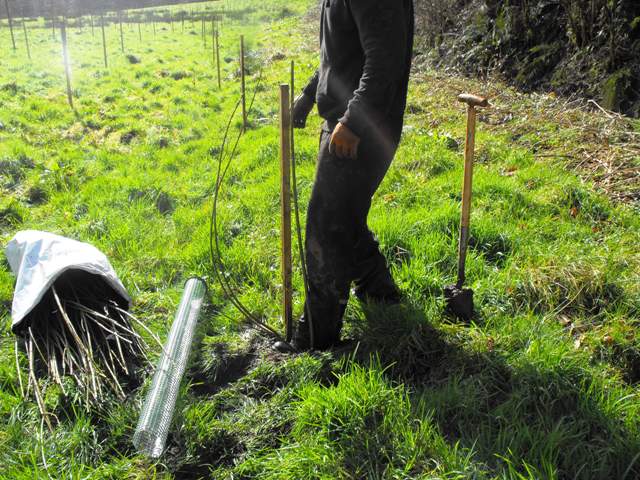
A number of designs come with a cable tie fitted near the top and bottom of the guard and a ‘lip’ at the top of the tree guard. This lip is the top of the tube. Place the bottom cable tie over your stake :
Putting the tube in place
and slide down until the tube is just above the tree. Carefully offer the tree into the tube making sure you have all branches of the tree in your hand :
Bottom tie on and in place
Now slide the tree guard down, making sure that at the same time the top cable tie goes over the top of the stake. Whilst you push the guard down, look inside the tube and make sure that the tree is not caught behind the cable tie inside the tube. Now push the tree guard down gently but firmly and twist is slightly so that it is firm to the ground if possible.
Push guard down and secure ties
Your tube and tree should be north to north east side of the stake to help protect from prevailing winds. Now you can tighten both of the cable ties. Tighten them with the tightening mechanism square to the stake as in this picture as this allows maximum tightness.
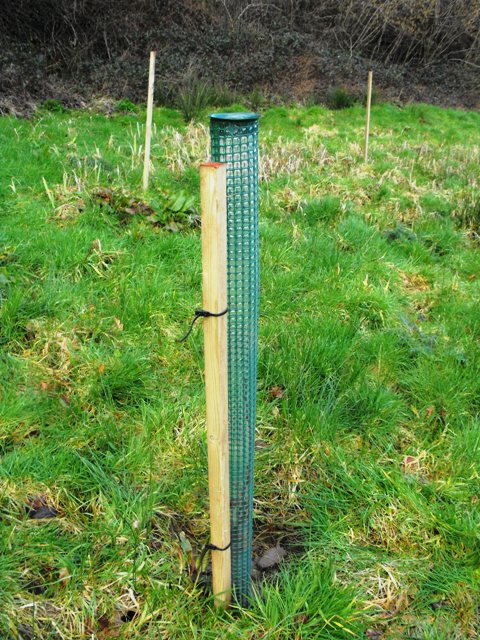
Guard on and ties square
Carry onto the next one and eventually you will look up and your clearing or glade will be a new woodland - happy planting!
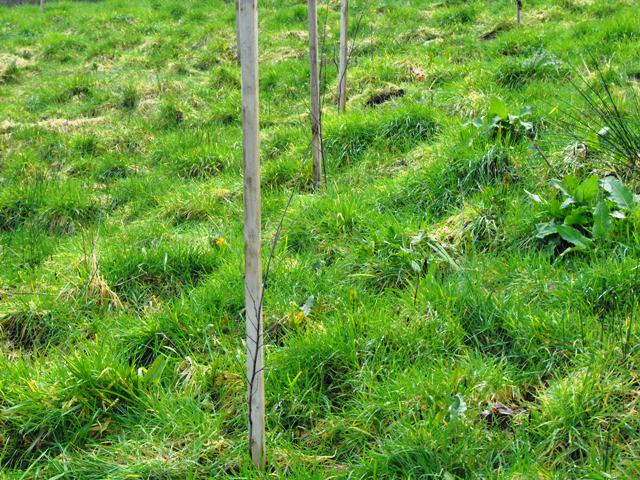
A very young woodland
Comments are closed for this post.
Discussion
Very helpful, it will be great to collect such pieces of information for our future Woodland. The trees are our lungs, and should really dominate our landscape.
Thanks for a great article. I have always dreamt of owning a small woodland & even though I’m now in my 60’s I still read & collect wonderful articles like the above.
One thing Stu doesn’t mention [probably because he is fed-up of me whinging about it]: if you are planting on a slope, it is a good idea to start at the top and, rather than plant one row at a time, do 3 – 4, zig-zagging your way down. This reduces the number of times you have to climb back up to the top. Also, gravity is on your side – it is much easier to roll or chuck stakes, tree-guards etc downhill than up. Take it from a man who has banged in 400 plus stakes in a day; your knees will thank you for it!

If I could add one important point to Stuarts excellent article, it would be to advocate the use of mulch mats. Sadly, many young trees die in their first 1 to 2 years due to competition from grass and weeds. Mulch mats will prevent this and also help retain moisture around the roots on hot days. Old carpet makes excellent mulch mats and is usually given readily to those who enquire.
Keeperswood
3 June, 2014