Lino cutting and printing
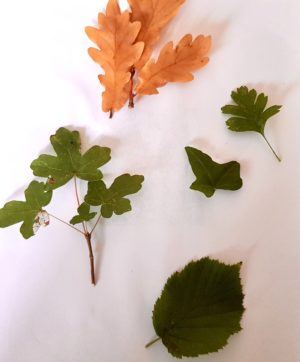
The first stage to lino printing is to find inspiration. Christmas is a great time to try this craft as it can be used in Christmas cards or for printing your own wrapping paper. It's important to bear in mind that shapes are paramount with lino cutting and printing, so it's a good idea to look for distinctive shapes with clear edges. You can add in shading or marks after printing if you choose. Winter is a great time to look for inspiration. I like to look in the woods. While walking, I look for leaf shapes or dried seed heads are my favourite. You can also draw from imagination if you prefer. Leaves like holly are fairly easy to draw with their clear defined points.
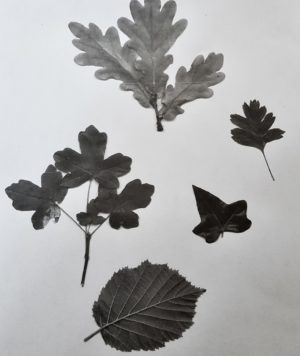
When I've collected some specimens I need to transfer them to paper so I can trace the shapes on to the lino. I'm not the best artist so after a few disappointing sketches I came up with another plan. I photocopied the leaves and seedheads by placing them on the glass of the copier and covering them with a sheet of white paper. Bingo! They came out really well.
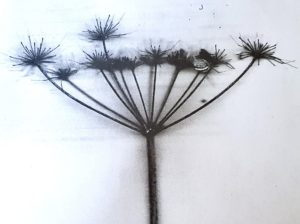
Seed head
The hemlock seed heads looked a little cluttered which is tricky to create on the lino so I stripped the seeds and tried again. Important to remember some seeds, leaves etc are toxic so you need to be sensible handing them.
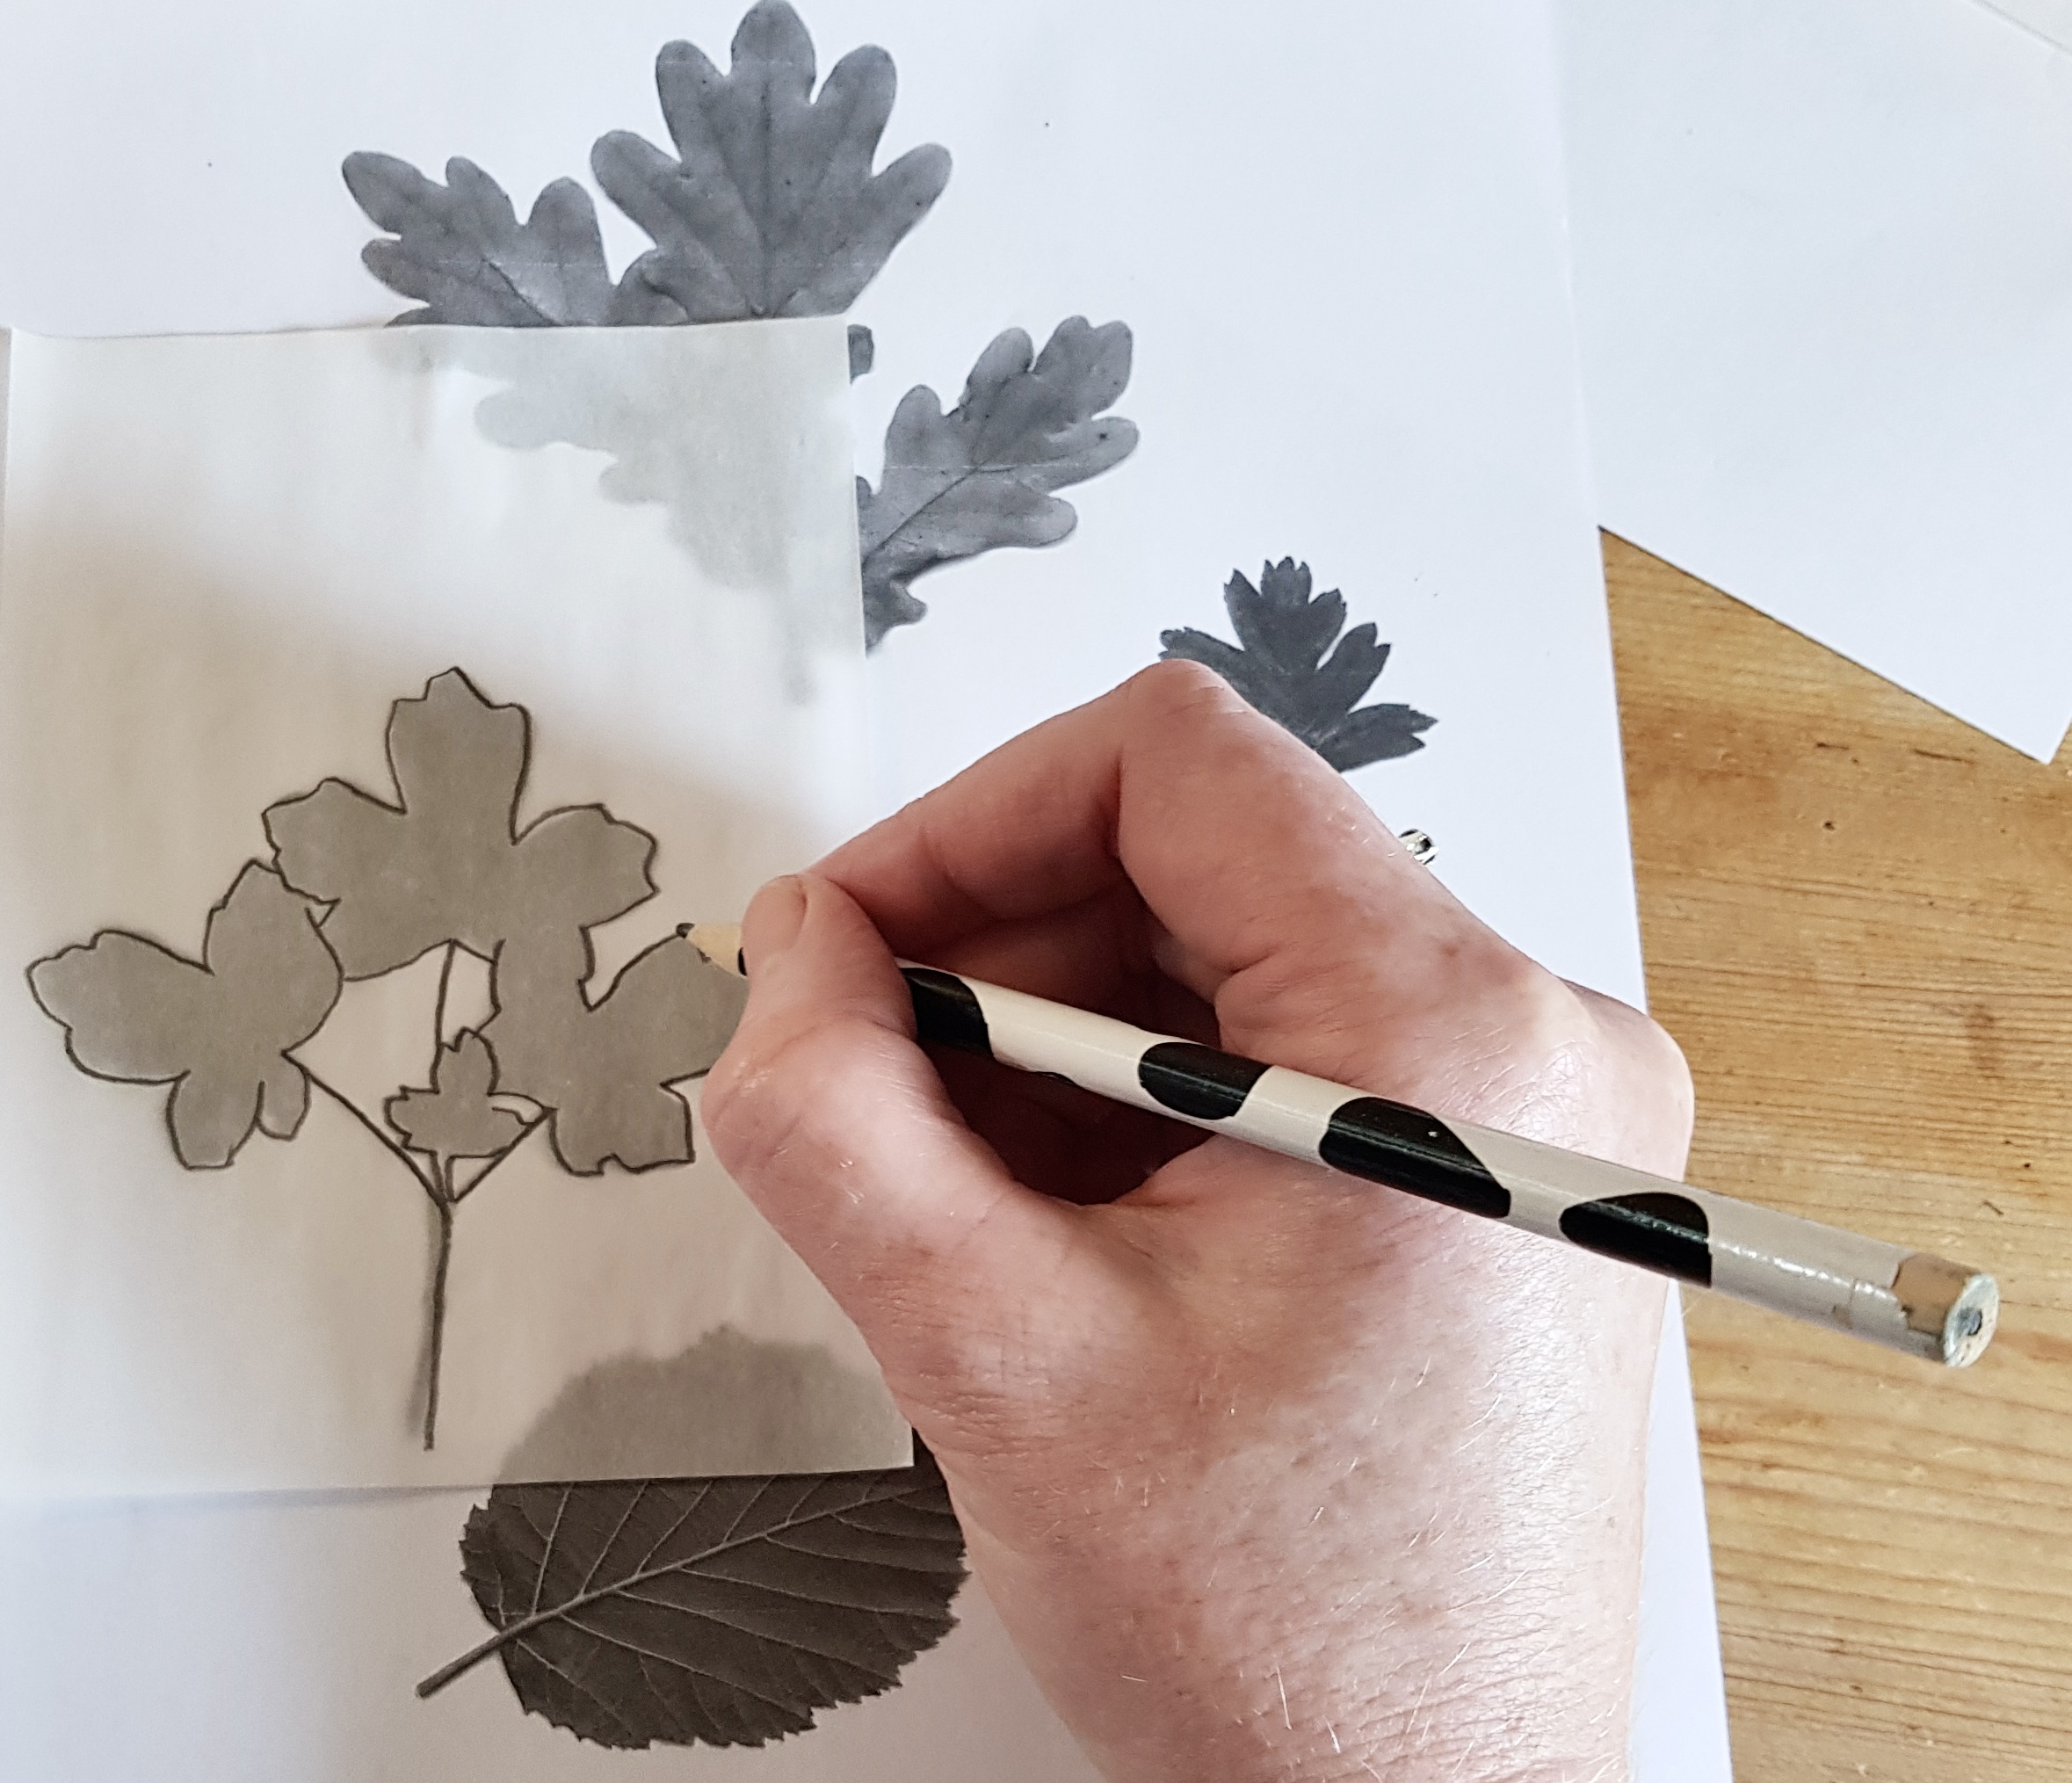
Tracing the leaves
Once I have the copied shapes or drawn the images I trace them onto tracing paper then flip the tracing paper and rub the back to transfer the image on to the lino.
If it's not completely clear you can re draw it or draw directly on to the lino. When you have an image that you're happy with it's time to cut. So, what will you need ?
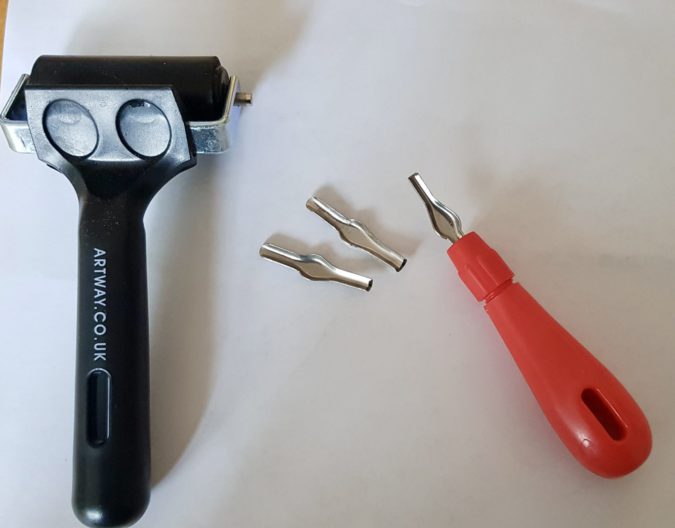
Cutter with various nibs, plus a roller.
Lino. This comes in different levels of density and lots of different sizes. You can purchase a selection to find out which you prefer. I buy from Etsy but there are many other available sources.
Tools. Cutting tools are small, shaped blades that fit into a handle. It takes some trial and error to find out what works for a design so good to have a spare square of lino for making practice cuts.
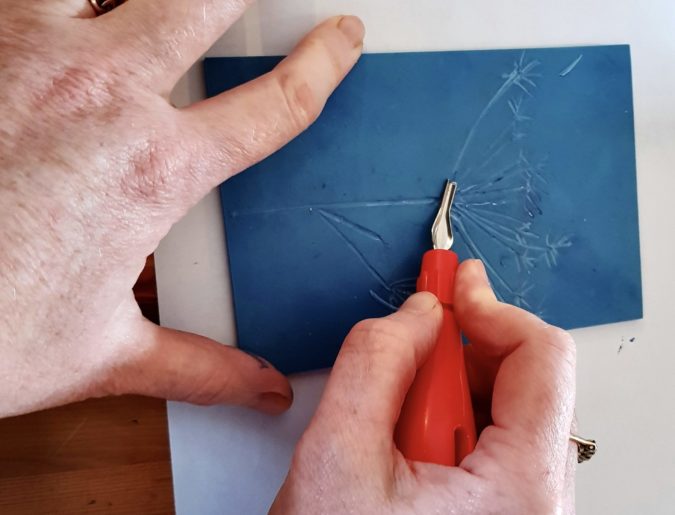
Cutting a flower shape
I cut my design or outline into the lino square - remember - what ever you remove will be white on the final print - and cut any detail I want with different blades. This may be trial and error and you can always come back and cut more but, obviously, cannot fill back in.
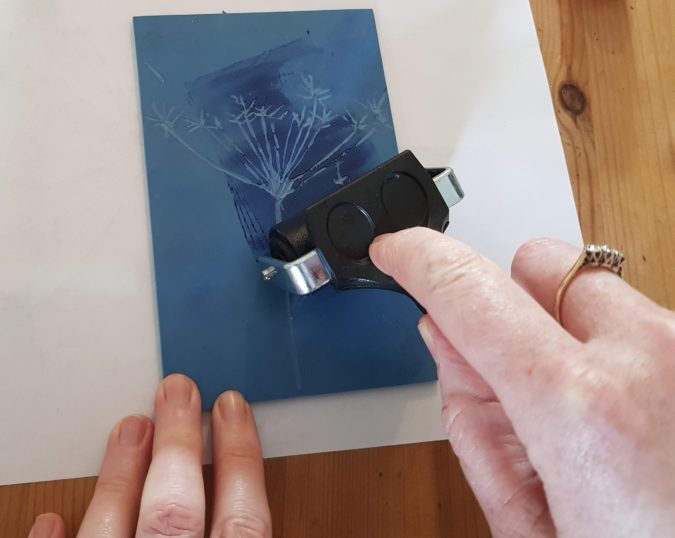
Ink roller. A small plastic or rubber coated roller, like a mini paint roller. This is the fun bit. Choose your ink colour and put a little ink on a smooth surface. I have an ink tray but you could use an old tile or similar. Roll the roller in the ink then over the design making sure it's well covered them press the lino piece onto paper or card or the other way around - pressing the paper on to the lino and run your fingers over the back to transfer the ink.

Place ink in the tray and spread
Evenly spread the ink on the roller and roll over the shape on the Lino
Inks These come in every colour and shade and are water based so you can get proper messy and it all washes off.
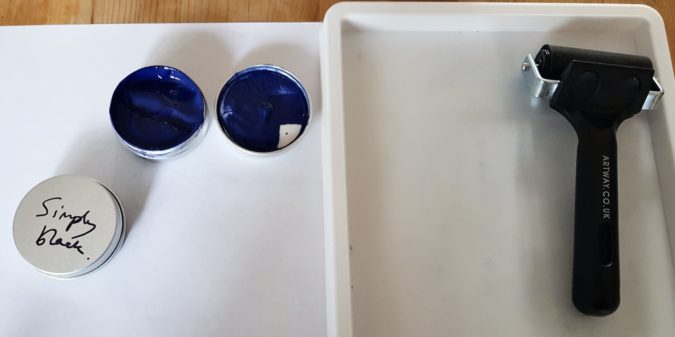
Rolling tray and different colours of ink
It's entirely possible your creation doesn't look exactly how you wanted it to first time. It's a process where you will tailor how you draw, cut and print to get to what you want to achieve. If you want you can add to a print with another ink colour and fill in different shape with another link cut or overlap a design or colour.
There is lots of inspiration on the internet. Designs can be simple or complicated depending on who is creating. My daughter enjoyed making a toadstool print which was a simple shape and cut and now plans to make some Christmas cards.

Place lino onto card to print image and allow to dry.
Comments are closed for this post.
Love this ! thanks for sharing .
Marisol
29 December, 2022